
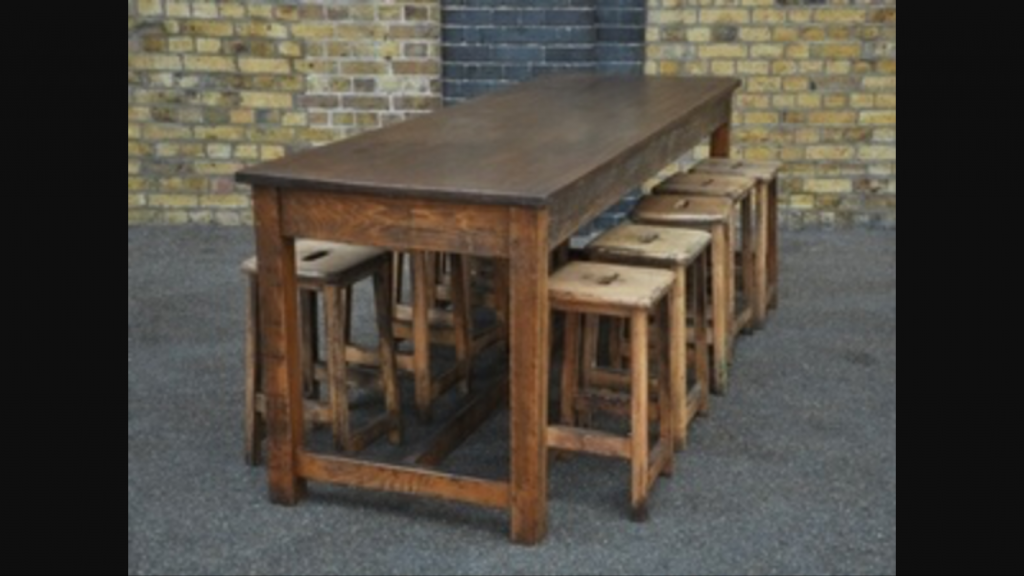
Honey and I decided that we wanted to make a concert table this winter in our down time at the nursery. We figure it will be a great space to work on future projects. The first thing we did was search the internet for some inspiration. The table below was our taste and we thought it would look great with a gray concert top. We decided to stain our table dark brown to contrast with the light gray of the concert.
Instructions
After figuring out what we wanted our table to look like, we had to figure out the fundamentals of making one. Honey spent many hours watching YouTube videos till he found the one below. This video had the best set of instructions and step by step guide to make our table.
The Table Top
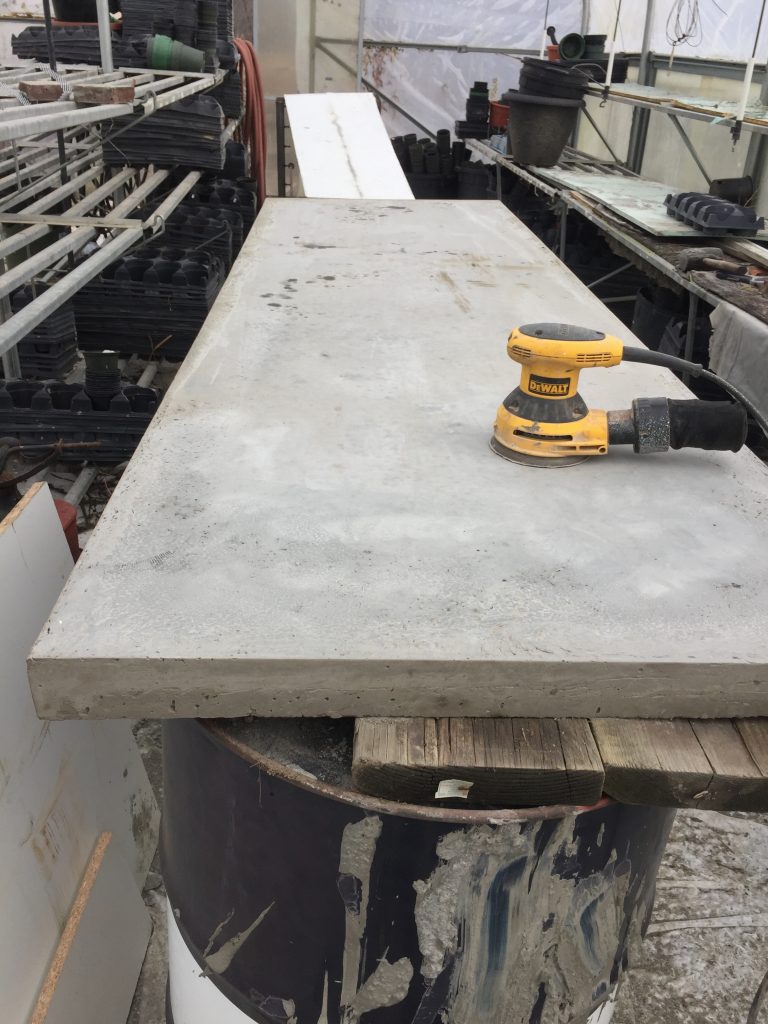
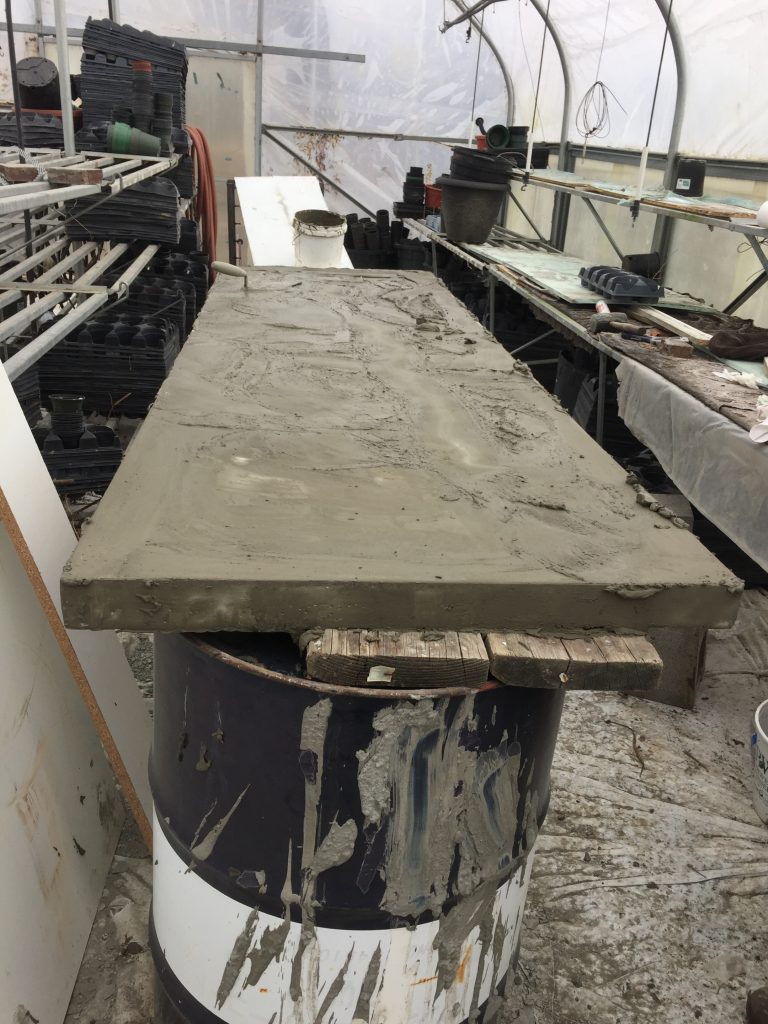
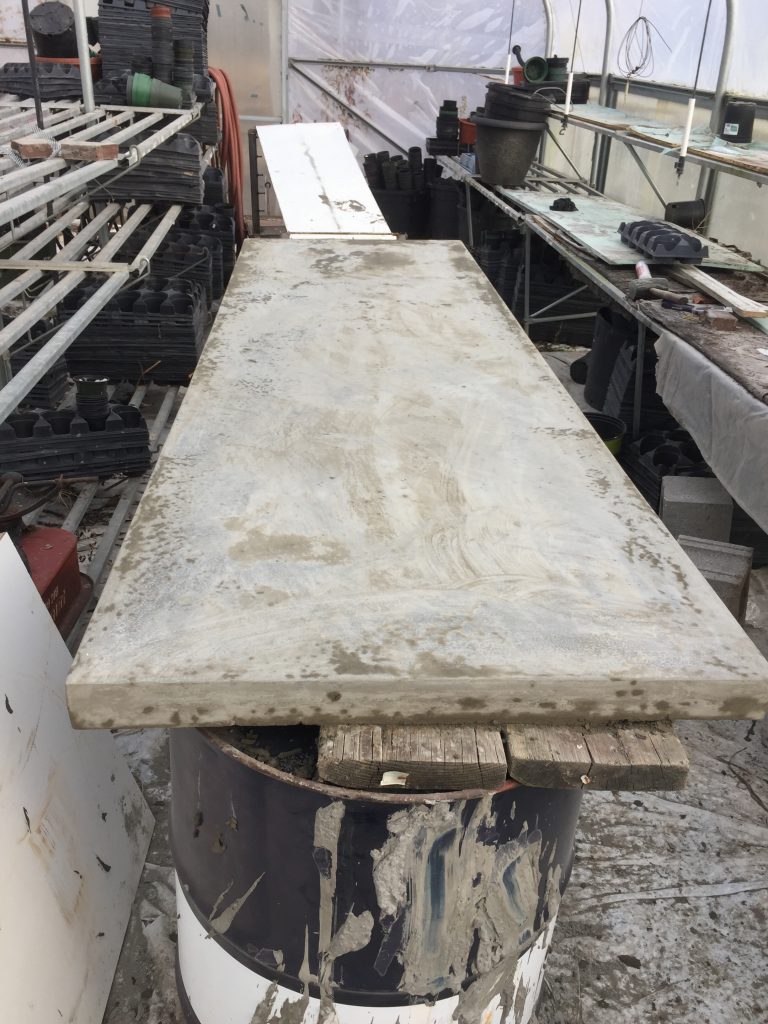
Here are some pictures of our table top being sanded. As shown in the video you should sand the top first and then fill in any holes. If you fill in the visible holes and then sand, more holes just below the surface will appear and you will have to repeat the process. Our table was made out in our emptied greenhouse. The condensation from the greenhouse dripped on our table top and made a neat pattern that we both liked so we sealed it with out trying to remove the water spots. This made the table top have a worn look to it. The table top turned a much darker color of gray when we added the sealer. We made our table 8 feet long and due to the weight, we had to cut it in half to get in up the stairs.
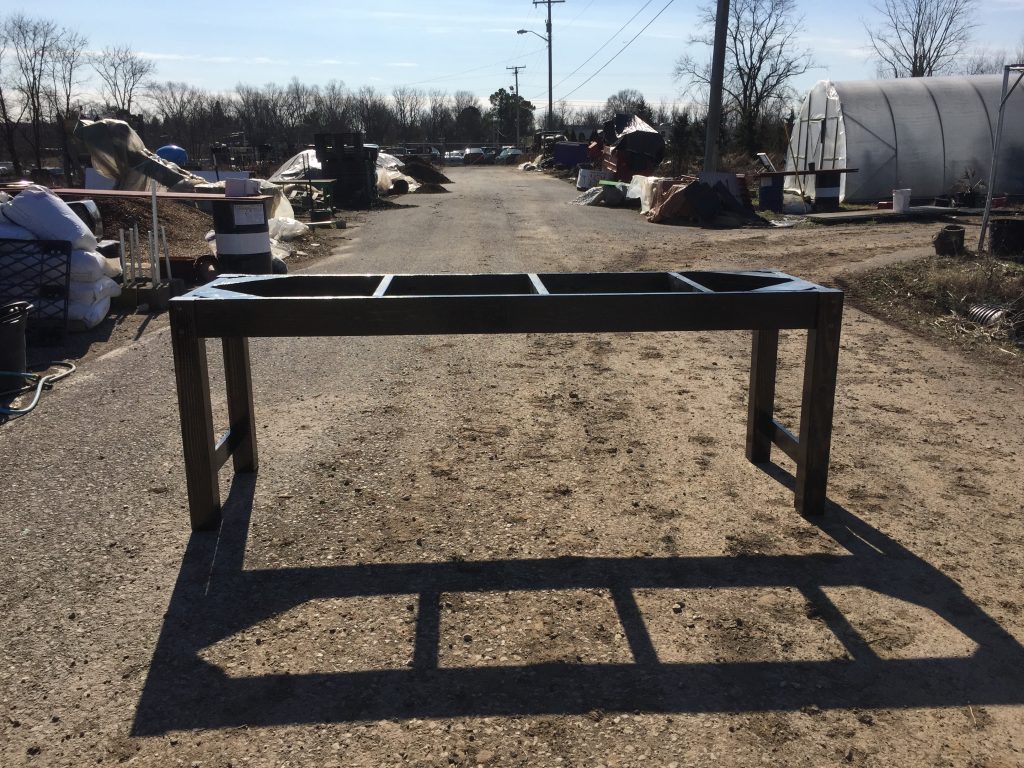
The Base
My dad helped us construct the base of the table. All in all it took about 4 hours to assemble the table (that included lots of talking on our part!) We added some screws in the corners of the legs to add extra strength to the table and design. The staining and sealing of the base took the most time due to the drying process. Each coat of stain took 6 to 8 hours to dry before another could be applied. The same was true of the polyurethane that we added to make the base shinny. Its worth noting that we sanded the polyurethane as described on the side of the bottle and it took off the stain that we had put on! I would recommend not sanding the polyurethane or sanding very very lightly.


The Finished Product
Below is the finished table! We love how everything came together! It was fun to plan and work on this project together. Now it’s time to work on new projects on the new table!
